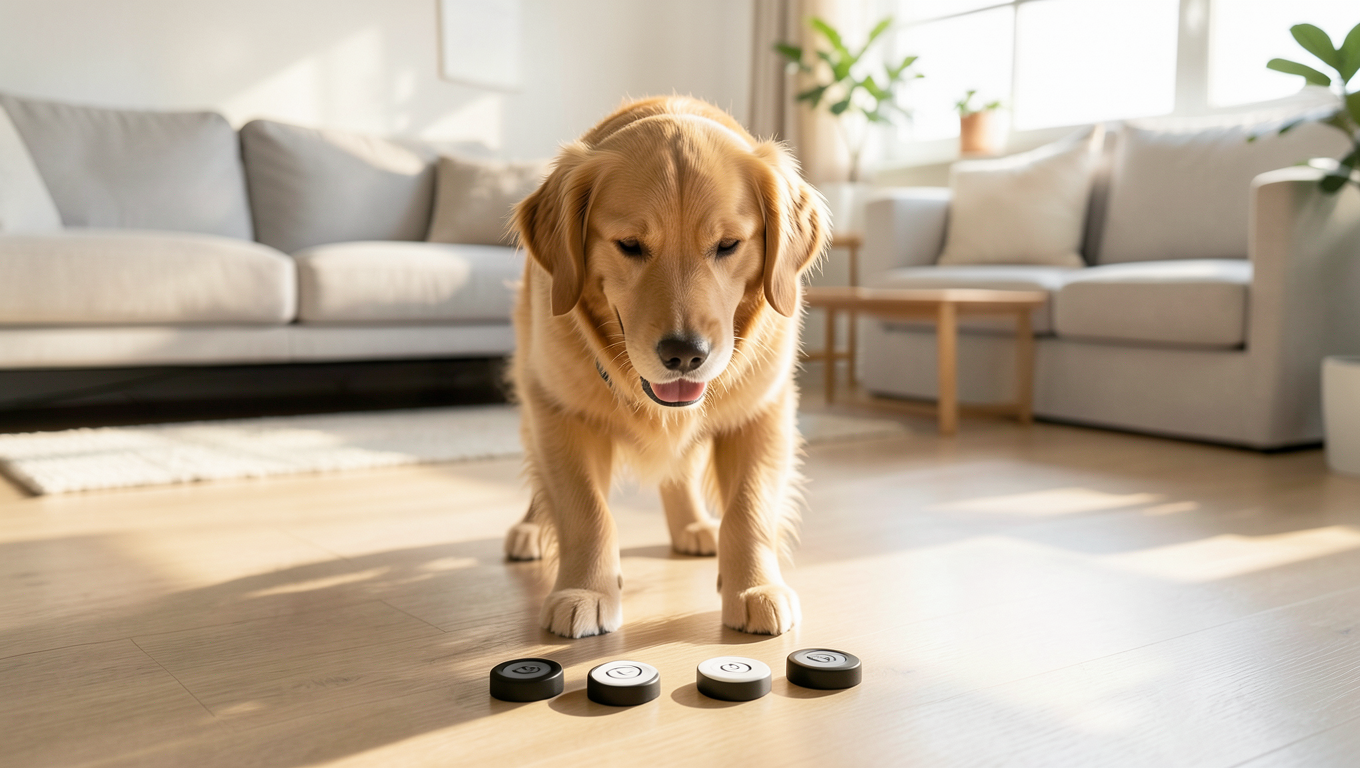
To train your dog to use buttons effectively, you’ll need to assess their individual learning style and choose the right buttons. Set up a dedicated training space with minimal distractions and arrange buttons in a logical layout. Use positive reinforcement techniques like treats and praise to teach button association. Start with simple button presses and gradually increase distance and difficulty. As your dog becomes more confident, you can phase out lures and prompts, and even add new buttons and meanings. With patience and consistency, you’ll be on your way to revealing more advanced communication with your dog.
Also See:
Table of Contents
Preparing Your Dog for Training
Before you begin teaching your dog to use buttons, you’ll need to assess their individual learning style and identify the most effective motivators to use during training.
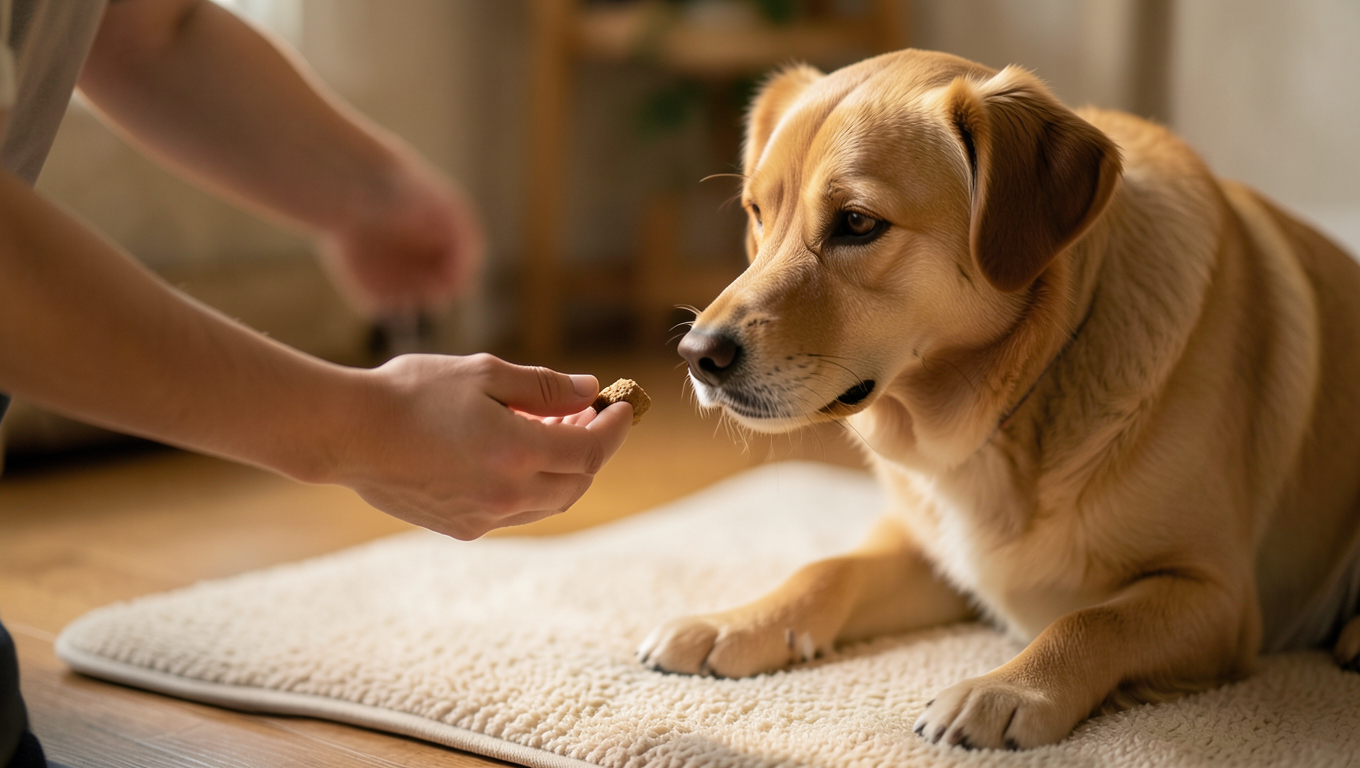
Every dog is unique, with their own strengths and weaknesses, and understanding their temperament is essential for successful training.
For example, if your dog is anxious or fearful, you’ll want to start with short, gentle training sessions to build their confidence.
On the other hand, if your dog is energetic and playful, you may need to incorporate more physical activity and play-based rewards into your training.
This post contains affiliate links. However all the information provided on this site are my own honest opinions. See more in Disclaimer.
When it comes to training frequency, consistency is key. Aim to train your dog 2-3 times per day, for 5-10 minutes per session. This will help them stay focused and retain information better.
Remember to end each session on a positive note, while your dog is still engaged and motivated.
By taking the time to understand your dog’s individual needs and temperament, you’ll set yourself up for success and make the training process more enjoyable for both of you.
This foundation will serve you well as you begin teaching your dog to use buttons.
Choosing the Right Buttons
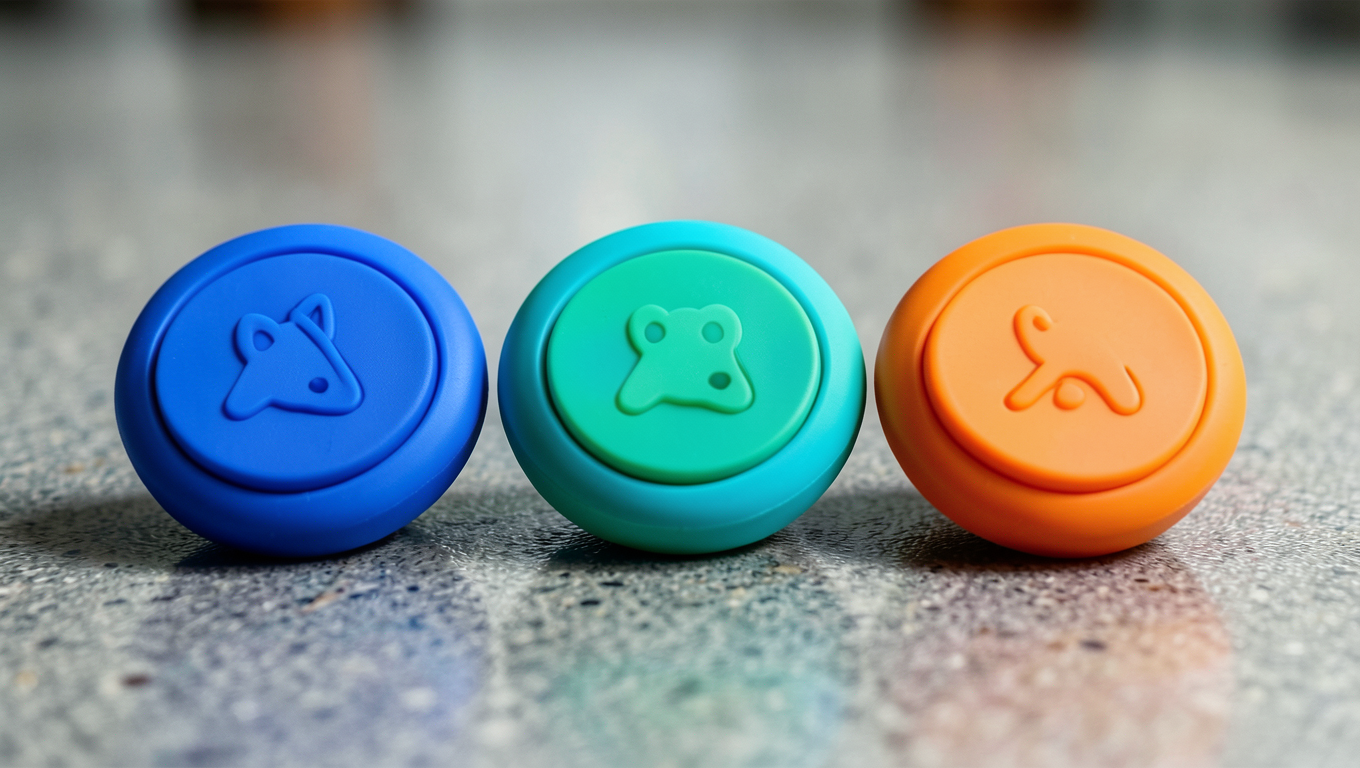
As you start shopping for buttons, you’ll want to reflect on a few key factors to guarantee you’re getting the right ones for your dog.
Button size and type are essential, as you’ll need to choose options that are easy for your dog to press and large enough to accommodate their paw or nose.
Additionally, you’ll want to contemplate the material and durability of the buttons, selecting ones that can withstand repeated use and potential rough handling.
Button Size and Type
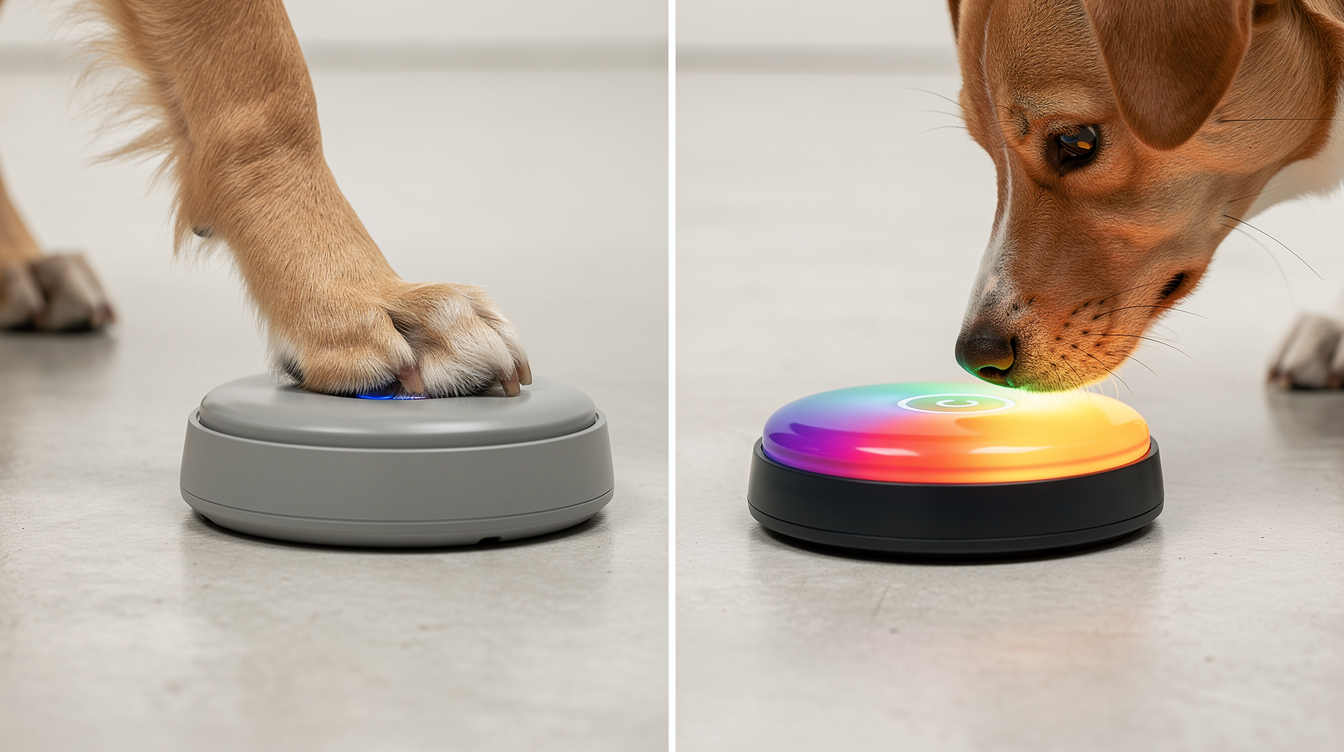
Your dog’s button choices will be dictated by their individual needs, preferences, and physical abilities, making the selection of the right button size and type essential for successful communication.
You’ll want to contemplate button accessibility, ensuring the buttons are easy for your dog to press, regardless of their size, strength, or mobility.
Larger buttons may be more suitable for dogs with limited dexterity or visual impairments, while smaller buttons may be better for dogs with precise motor skills.
Button aesthetics also play a role in your dog’s communication success. Choose buttons with clear, simple designs and high-contrast colors to help your dog quickly identify each button’s purpose.
Avoid cluttered or complex designs that may confuse your dog.
Button Material and Durability
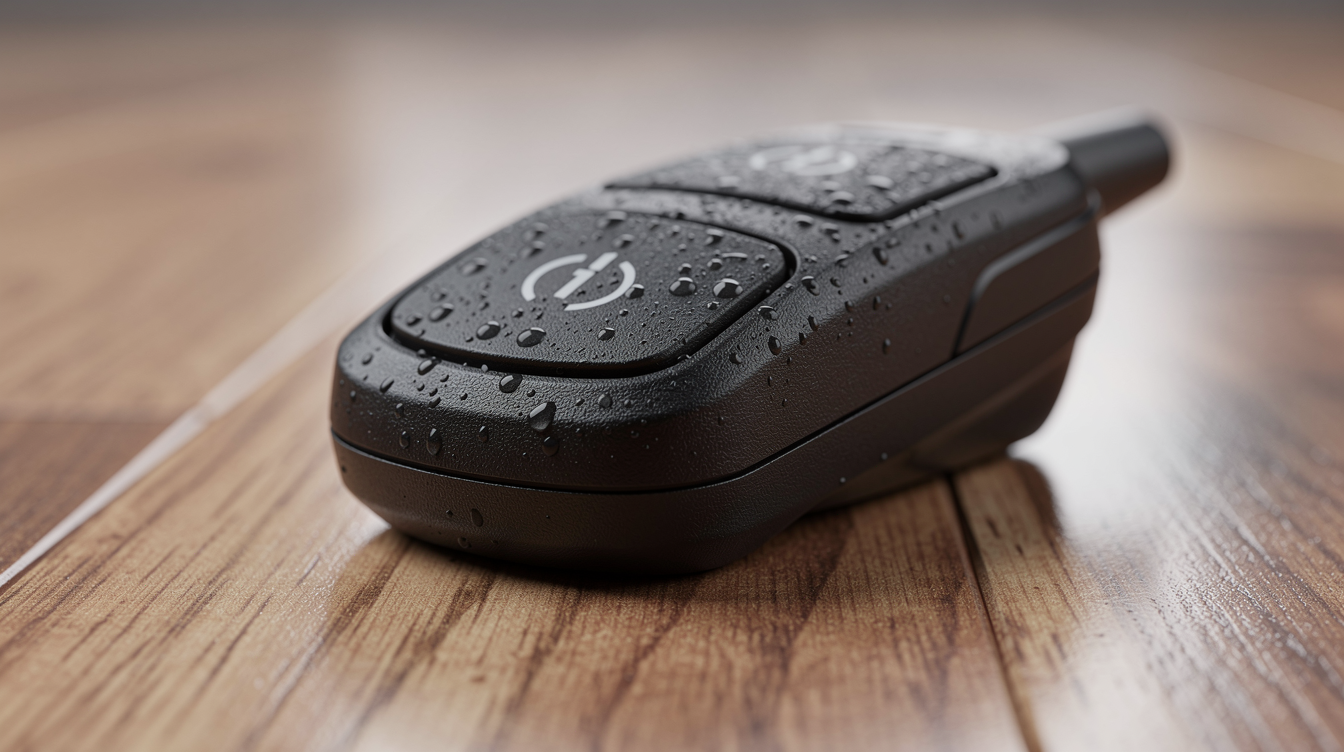
Selecting buttons made from the right materials is essential, because it directly affects their durability and performance, ultimately determining how effectively your dog can use them to communicate.
When choosing buttons, you’ll want to evaluate the button longevity and the impact it has on your dog’s ability to use them.
Some material options, like plastic or metal, can withstand heavy use and frequent cleaning, making them ideal for busy dogs.
However, other materials, such as fabric or wood, may be more prone to wear and tear, requiring more frequent replacement.
To guarantee ideal button performance, assess the following material options: waterproof plastic, heavy-duty metal, or durable silicone.
These materials can withstand scratches, bites, and other forms of wear, making them perfect for dogs that love to communicate.
Setting Up the Training Space
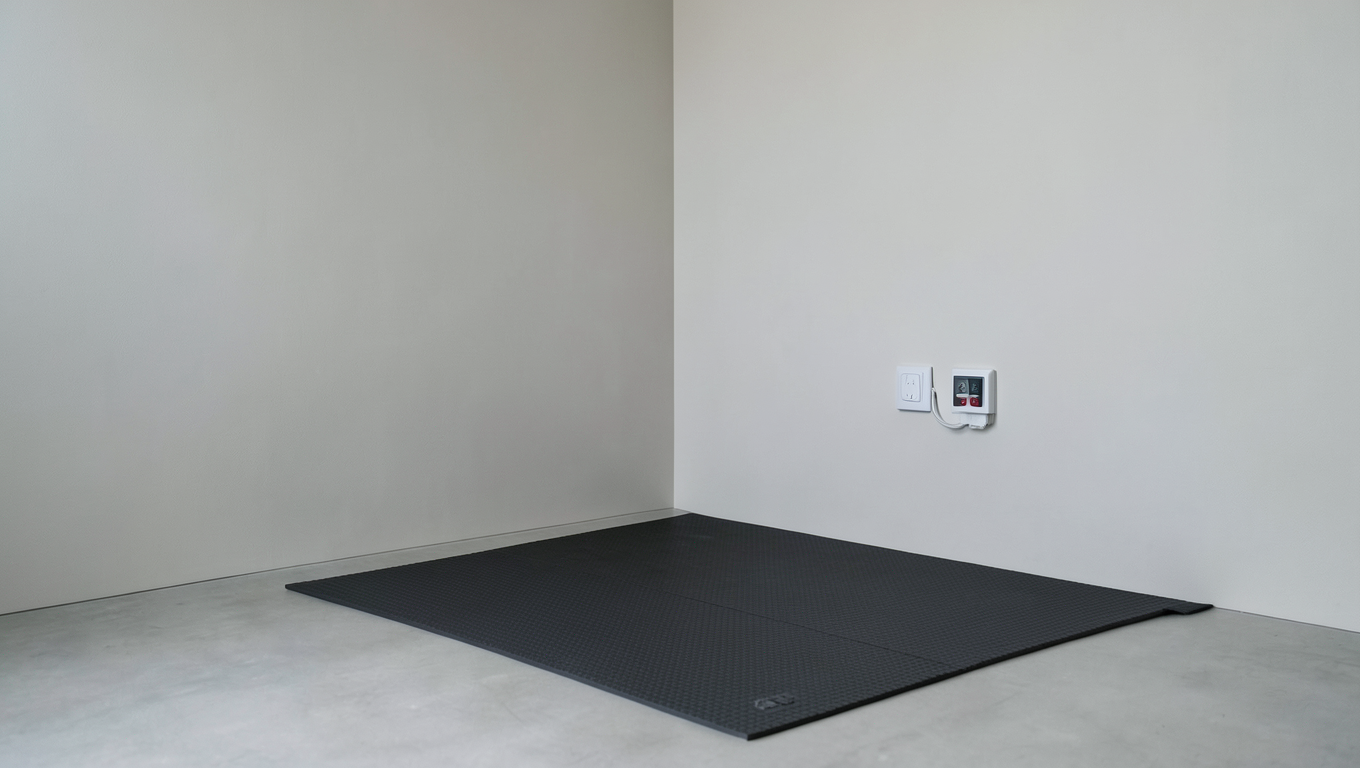
As you prepare to train your dog to use buttons, you’ll want to set up a dedicated training space that promotes focus and efficiency.
You’ll need to choose a location that’s quiet, comfortable, and free from distractions, where your dog can concentrate on learning this new skill.
Choosing the Right Location
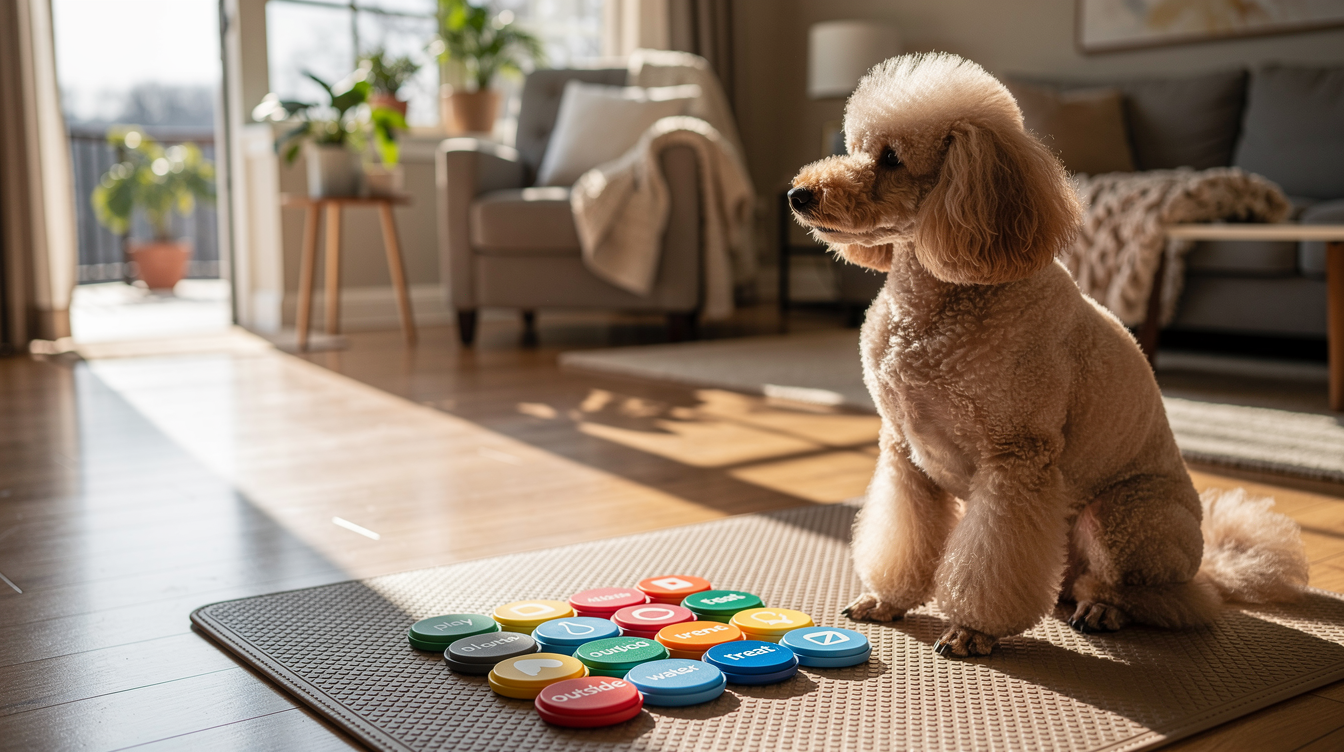
Identifying the perfect spot for training is essential, so take a few minutes to survey the rooms in your home and designate a quiet, distraction-free area where you’ll set up the buttons and begin teaching your dog.
This spot will be the foundation for successful training, and you’ll want to take into account both indoor spaces and outdoor environments. When evaluating a potential training location, think about your dog’s personality and needs.
Here are a few key factors for selecting the ideal training location:
- Proximity to your daily activities: You want the training location to be easily accessible so that you can practice with your dog frequently.
- Noise level and distractions: Opt for a spot with minimal distractions, such as a quiet room or area of the yard.
- Comfort and safety: Verify the location is comfortable and safe for your dog, with adequate ventilation, shade, and shelter from the elements.
- Space for movement: Choose a location that allows your dog to move freely and comfortably while using the buttons.
Minimizing Distractions Nearby
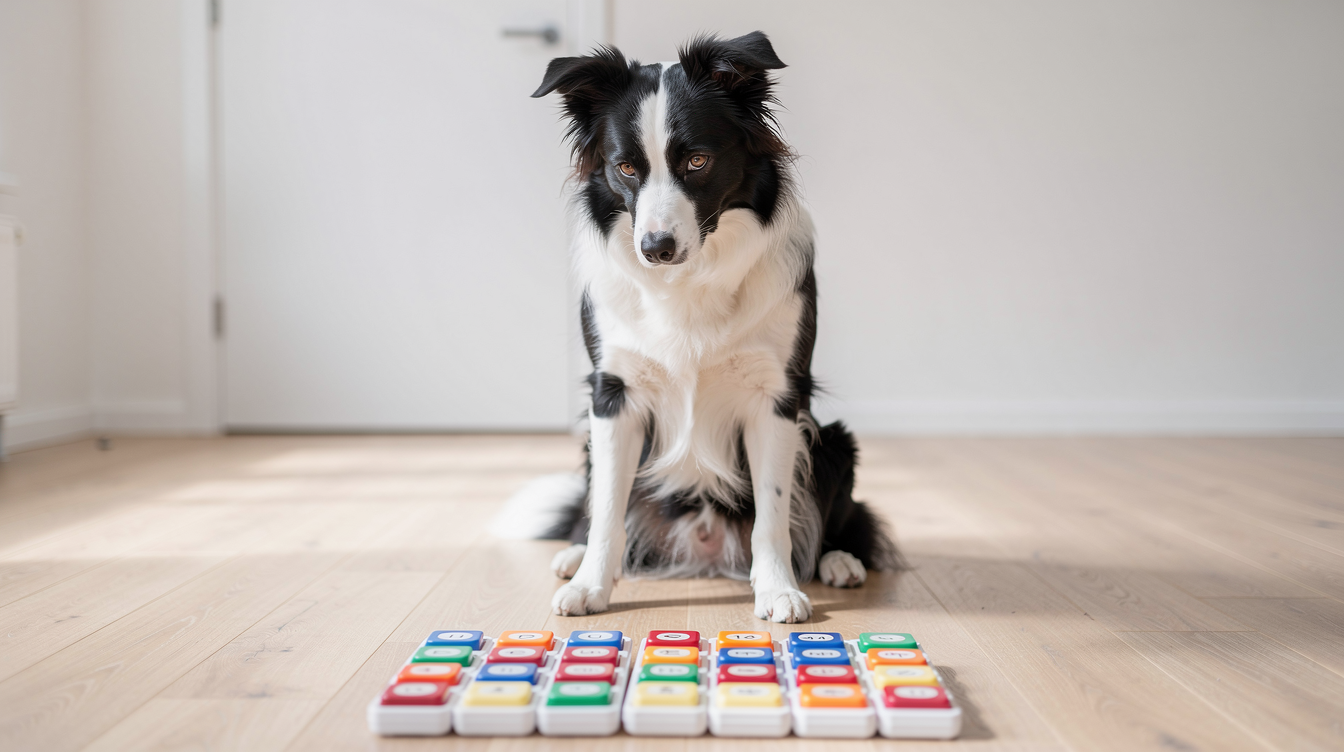
Now that you’ve designated a quiet, distraction-free area for training, it’s time to set up the space in a way that minimizes distractions and allows your dog to focus on learning to use the buttons.
To achieve environmental control, start by reducing clutter and tripping hazards, creating a clear path to the training area. Use dividers or curtains if needed to block your dog’s line of sight, helping them focus on you and the buttons.
Moreover, consider noise reduction to maintain a calm atmosphere that’s conducive to learning – white noise machines or thick blankets can help mask distant sounds.
Additionally, implement rules for household members that will minimize interruptions, directing them to avoid sudden arrivals, loud conversations, and energetic play during training hours.
Organizing Training Equipment
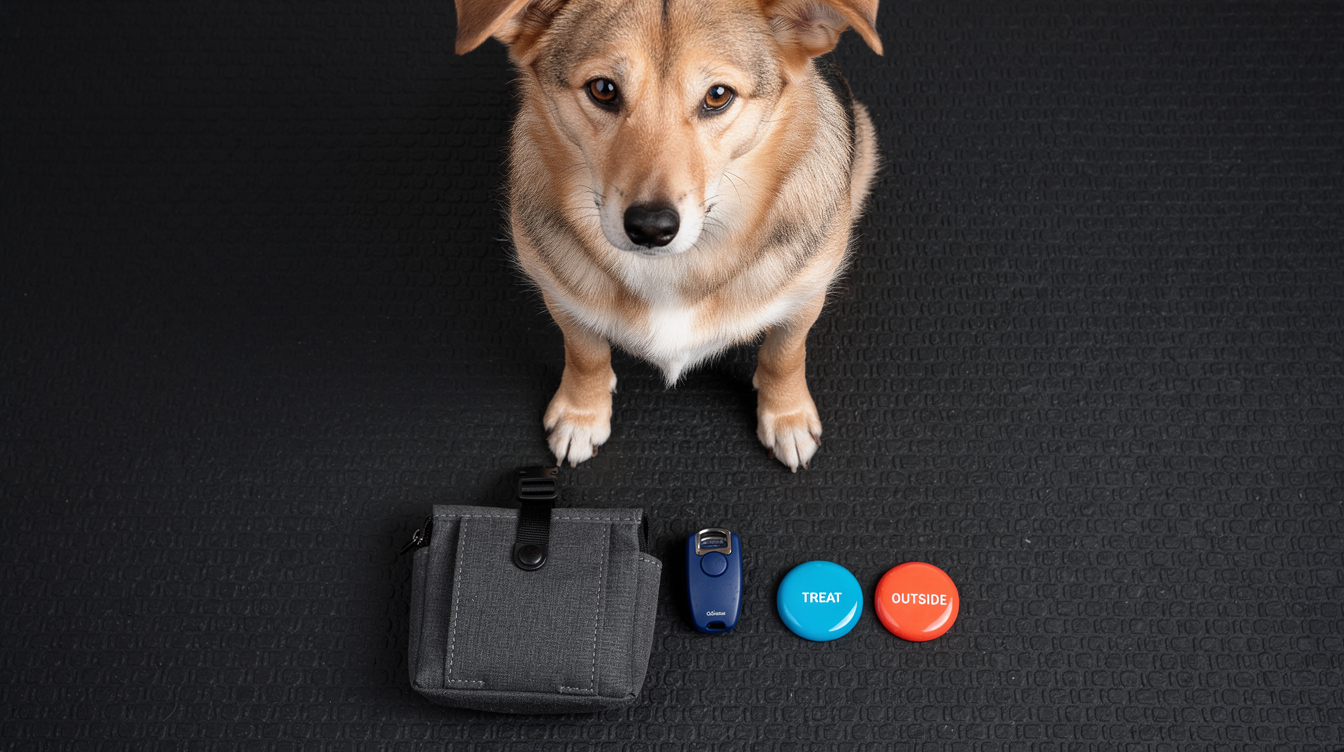
Carefully arrange your training equipment, including the buttons, in a logical and consistent layout that allows you to efficiently move around the space and minimizes visual clutter.
This setup will help your dog focus on the task at hand. As you set up the training space, keep in mind these organization tips to guarantee a productive session.
Trending in Dogs:
- Position the buttons strategically: Place the buttons in an easily accessible area, allowing your dog to reach them comfortably.
- Use a clicker holder or clip: Secure your clicker to your belt or wrist to free up your hands and avoid distractions.
- Organize your reward system: Place treats, toys, and other rewards in an easy-to-access container to avoid fumbling and maintain your dog’s attention.
- Clear the floor of obstructions: Ensure the floor is clear of clutter and obstacles, providing a clear path for your dog to move around the training area.
Teaching Button Association
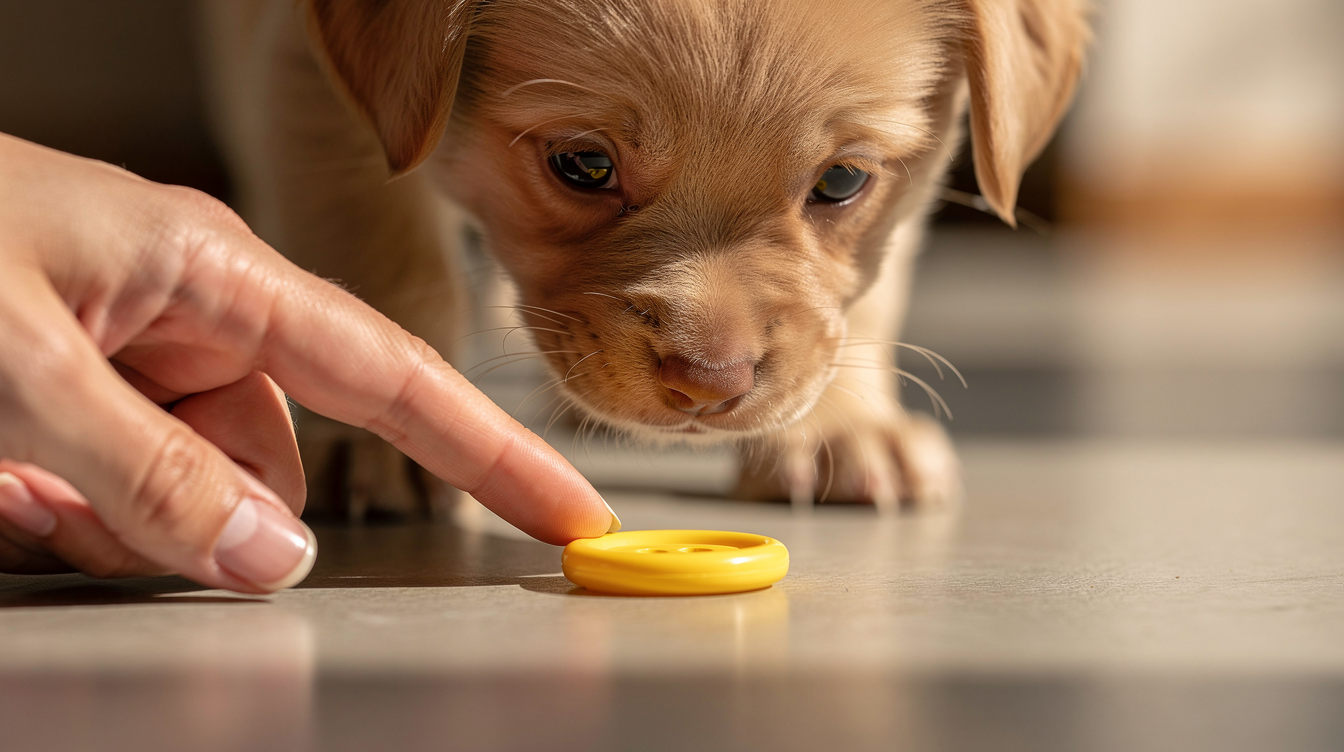
Your goal in this phase is to create a strong link in your dog’s mind between the buttons and the desired outcomes or rewards. This process, rooted in canine cognition, lays the groundwork for effective button communication.
You’ll be teaching your dog to associate the buttons with the consequences of pressing them, such as receiving treats or attention.
To start, place a treat on the button or immediately next to it. As your dog sniffs or licks the treat, they’ll inadvertently press the button. The moment this happens, provide the associated reward and praise them.
Repeat this process several times, allowing your dog to form a connection between the button and the reward. It’s crucial to be consistent and use positive reinforcement techniques to foster a strong association.
Encouraging Button Presses
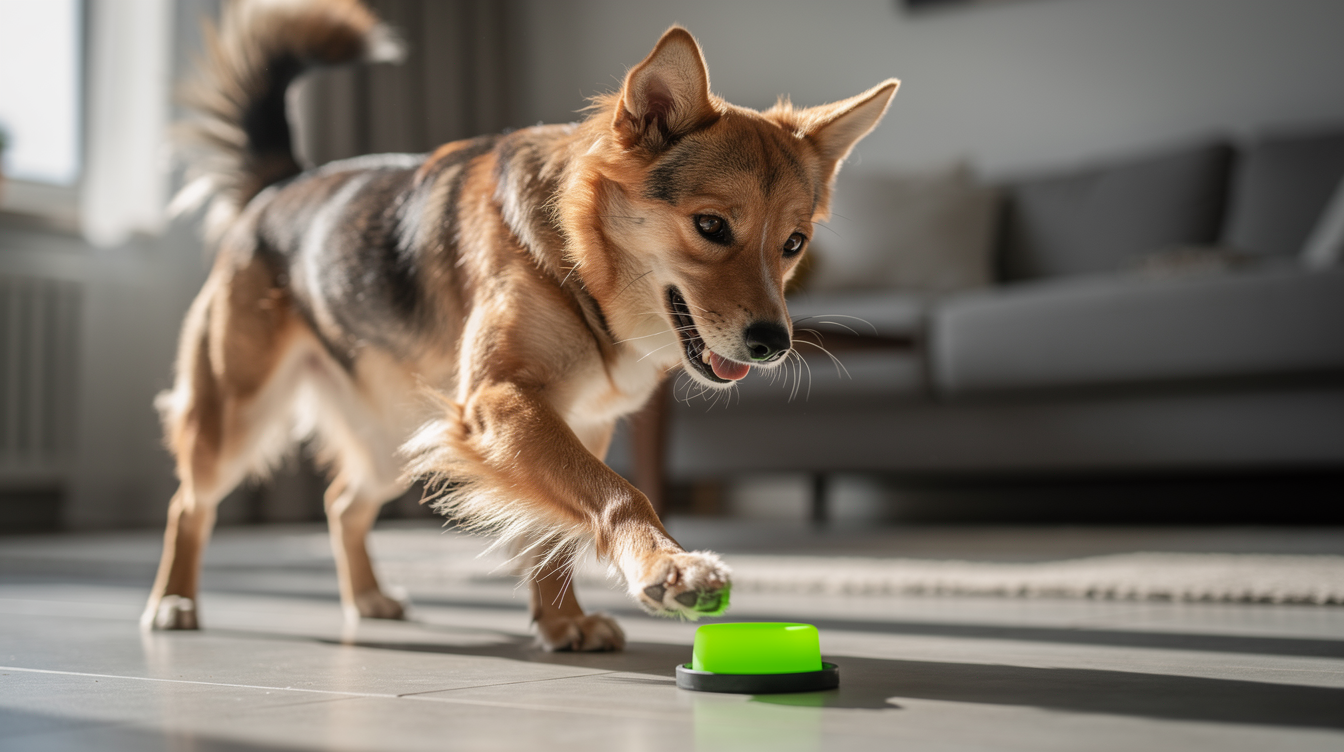
Building on the button association your dog has learned, you’ll encourage them to intentionally press the buttons by gradually phasing out the treats and incorporating verbal cues.
To do this, use positive reinforcement and timing techniques to create an environment where your dog feels motivated to press the buttons.
Here are some steps to follow:
- Add verbal cues: As your dog presses the button, say a verbal cue like ‘press’ or ‘click.’ This will help them associate the sound with the action.
- Delay treats: Start delaying the treats for a few seconds after your dog presses the button. This will help them understand that the reward isn’t immediate.
- Increase button distance: Move the buttons slightly farther away from your dog, encouraging them to move towards the button to press it.
- Mix up the rewards: Vary the rewards and only provide them occasionally. This will help your dog understand that the button press is the desired behavior, not just the reward.
Phasing Out Lures and Prompts
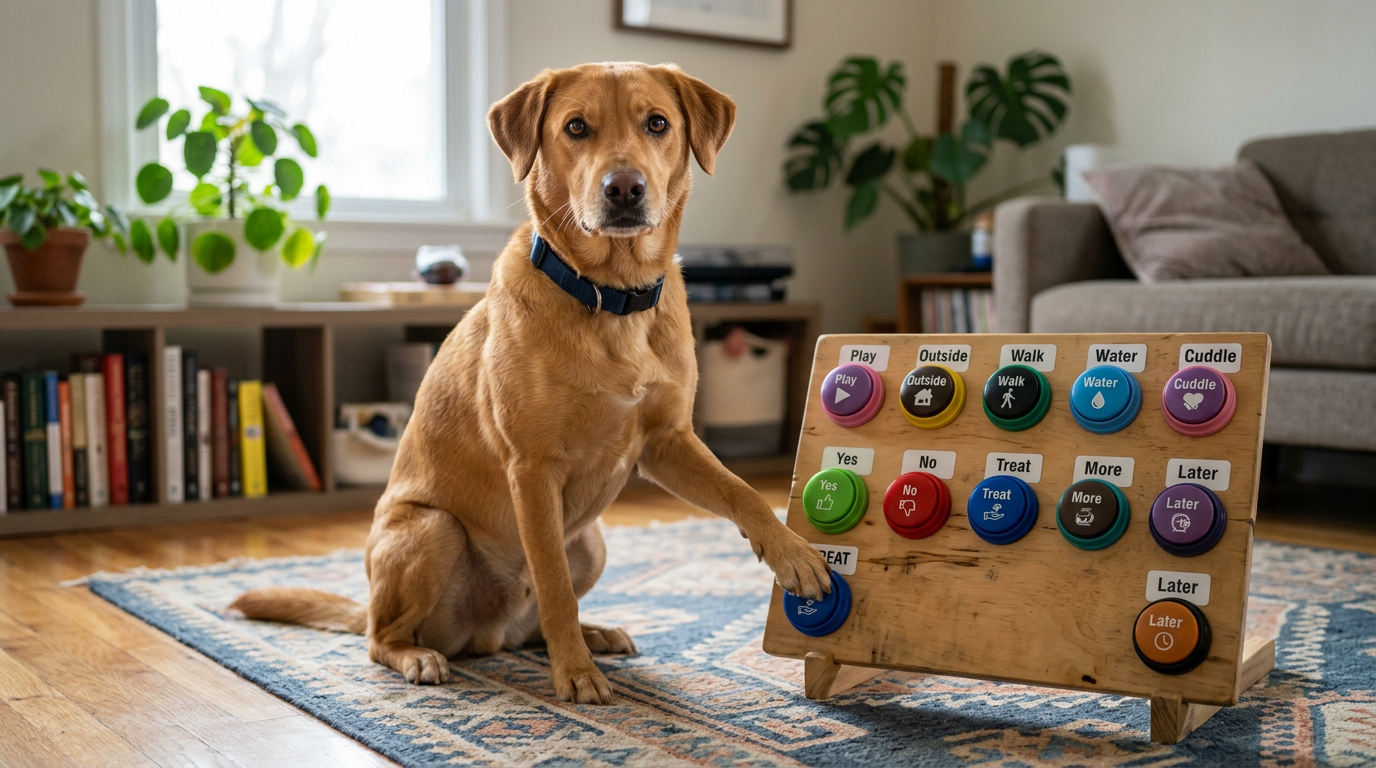
To solidify your dog’s understanding of the button-pressing behavior, phase out the lures and prompts that initially encouraged them to press the buttons.
You’ll know it’s time to start phasing out lures when your dog consistently presses the buttons without hesitation.
Begin by implementing lure fading, where you gradually reduce the frequency and value of the treats. For example, instead of giving a treat every time, start giving one every other time, then every third time, and so on.
As you fade the lures, also focus on prompt reduction. This means gradually removing the verbal cues and hand signals that helped your dog learn the behavior. Start by using the prompts only occasionally, then phase them out completely.
By doing so, you’ll help your dog understand that the button-pressing behavior is the desired action, regardless of the presence of lures or prompts. Remember to reward your dog’s correct responses during this phase to reinforce their learning.
With patience and consistency, your dog will learn to use the buttons independently, without relying on lures or prompts. This marks a significant milestone in their button-training journey.
Adding New Buttons and Meanings
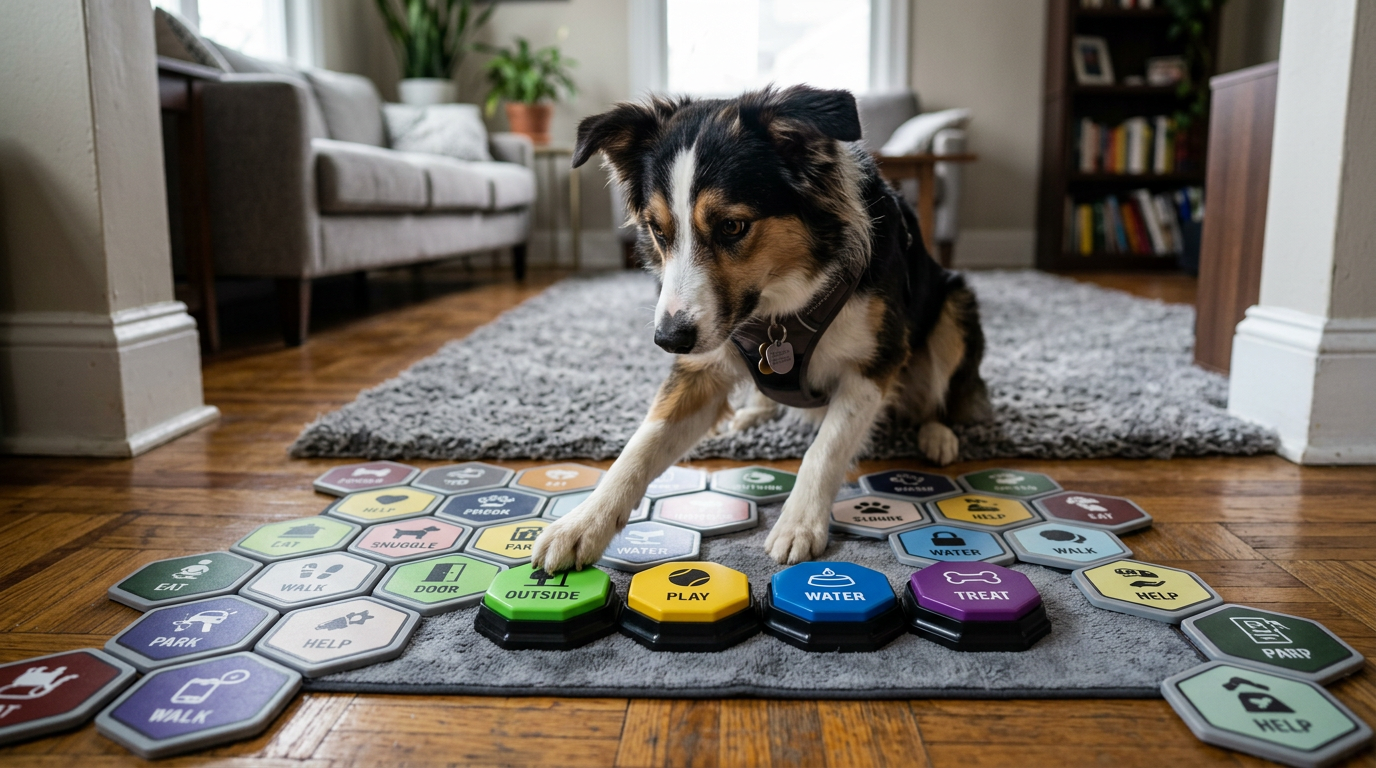
Once a single button-pressing behavior is established, you can introduce additional buttons, each paired with a new meaning, to expand the dog’s communication repertoire.
This process, called button vocabulary expansion, allows your dog to convey a wider range of needs and wants.
To add new buttons effectively, follow these steps:
- Choose relevant meanings: Select buttons that are relevant to your dog’s daily life, such as ‘outside’ or ‘play.’
- Introduce buttons gradually: Introduce new buttons one at a time, allowing your dog to learn the association between the button and its meaning.
- Use clear and consistent cues: Use consistent cues and reinforcement to teach your dog the new button meanings.
- Teach synonyms: Teach your dog synonyms for existing buttons to expand their vocabulary and provide alternative ways to communicate the same need.
Overcoming Training Challenges
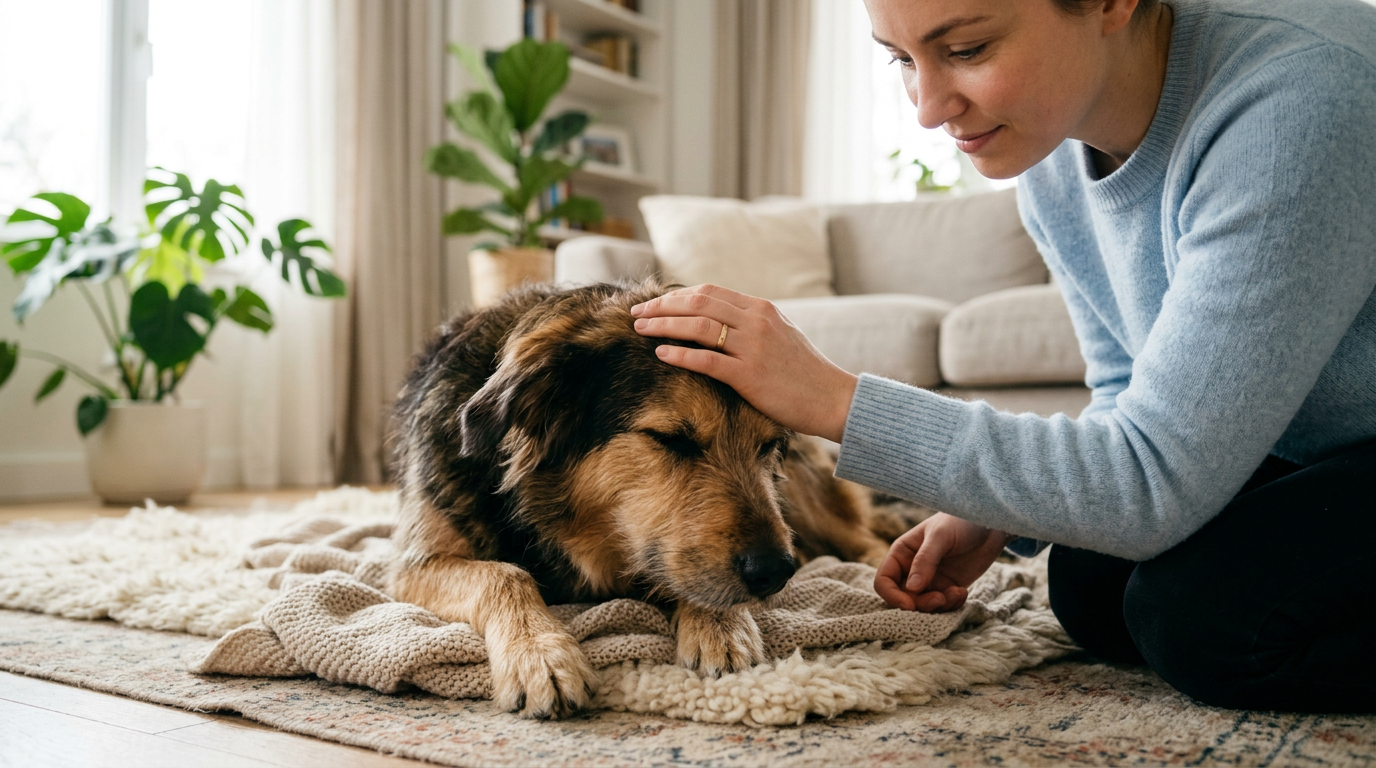
Many dog owners encounter training setbacks when teaching their dogs to use buttons, but with a clear understanding of the common challenges and practical strategies to overcome them, you can get your dog’s training back on track.
One of the common misconceptions is that dogs will pick up button use quickly, but in reality, it takes time, patience, and consistent training. If you’re facing setbacks, reassess your training approach and adjust your expectations.
To overcome training challenges, identify the root cause of the issue. Is your dog hesitant to press the button due to noise or texture? Are they struggling to understand the association between the button and the desired outcome?
Once you address these concerns, you can develop a plan to overcome them. Addressing fears and anxieties related to button use is vital.
Gradual exposure, positive reinforcement, and desensitization can help your dog feel more comfortable and confident using buttons.
Frequent Questions
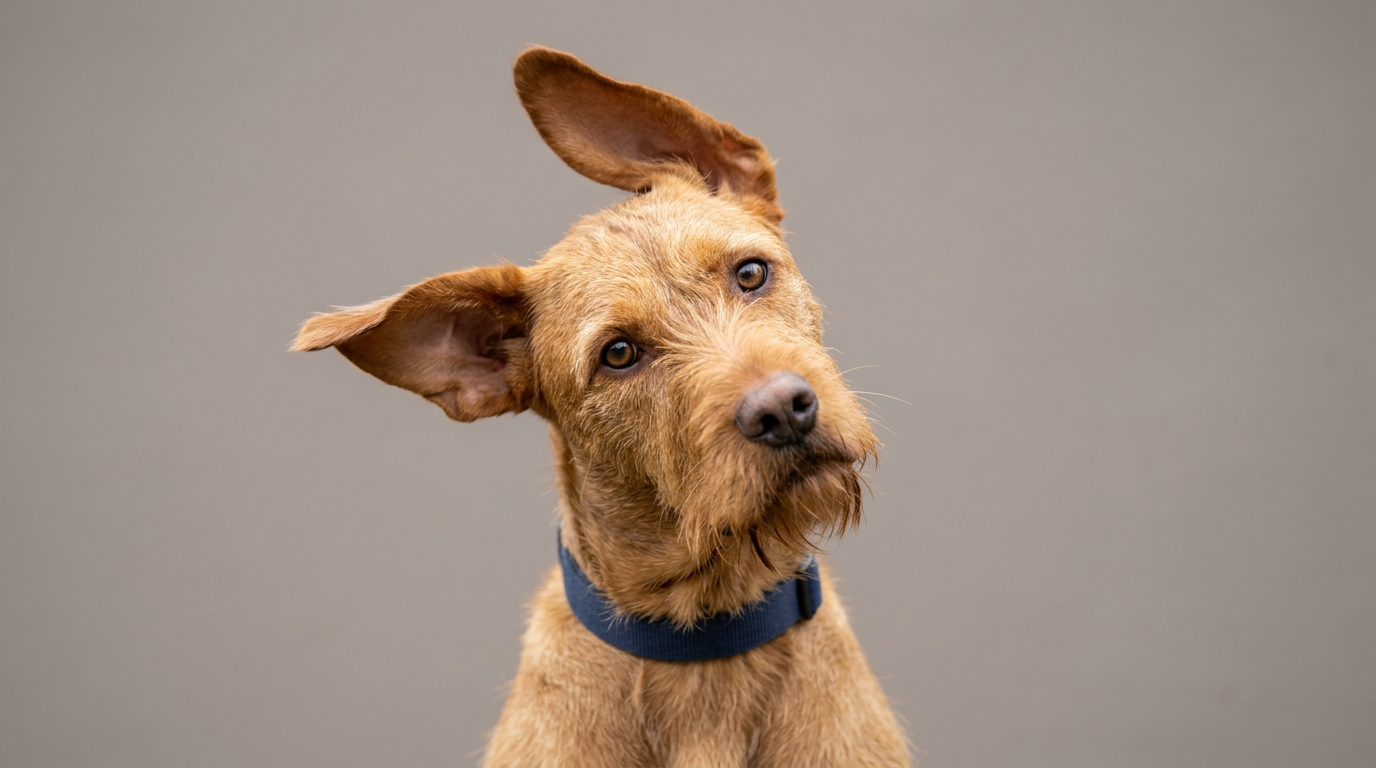
“Take Baxter, a 10-year-old Labrador, who learned to use buttons in just weeks. You’ll find that dogs of all ages can master buttons with effective training techniques, showcasing impressive age adaptability and cognitive flexibility.”
You’ll want to start with a limited number of buttons, ideally 2-3, to avoid overwhelming your dog and allow for a smooth training progression, with careful button selection playing a vital role in their learning success.
You can still use buttons with your dog despite limited mobility; focus on button accessibility and mobility adaptations, such as placing buttons within paw’s reach or utilizing assistive technology to facilitate communication and interaction.
You might worry that button communication will make your dog dependent, but with training consistency, you’ll actually empower them to express needs more effectively, research shows that augmentative communication tools enhance, rather than hinder, canine independence.
You can definitely use buttons with dogs that have prior training experience. Adapt your button training techniques to build on their existing knowledge, and you’ll see them quickly learn to incorporate buttons into their communication toolkit.