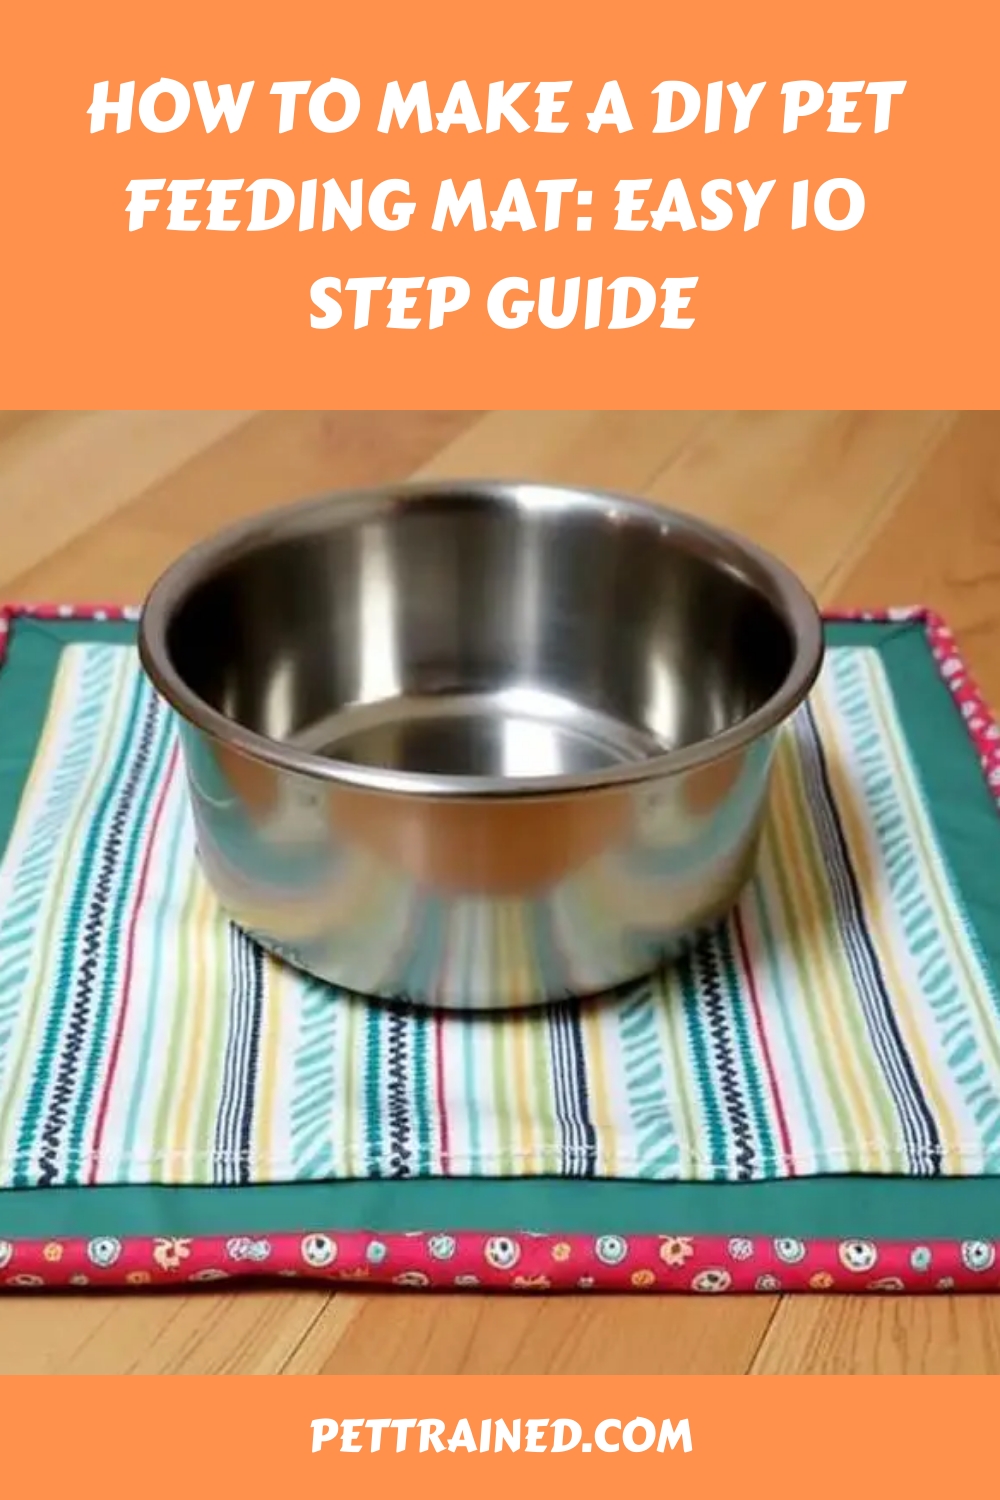
You’re probably no stranger to the messy eating habits of your furry friend, but did you know that a DIY pet feeding mat can make mealtime a whole lot neater? By creating a designated eating area with a waterproof layer and non-slip bottom, you can contain spills and make cleanup a breeze. But before you start, you’ll need to choose the right materials for the job. Silicone, cotton, and even old plastic placemats can work well, but which one is best for your pet’s needs? Let’s explore how to make a DIY pet feeding mat and get started on this practical project.
Table of Contents
Key Takeaways
- Gather materials like old plastic placemats, scissors, craft knives, and rulers to create a DIY pet feeding mat.
- Measure and design the mat based on your pet’s feeding area, considering space for comfortable eating and drinking.
- Choose a durable, easy-to-clean material that’s gentle on pet paws and suitable for your pet’s size and feeding style.
- Add a waterproof layer and protective coating to prevent spills and stains, and ensure easy cleaning and durability.
- Attach a non-slip bottom to prevent the mat from sliding during mealtime, prioritizing pet safety and comfort.
Gather Materials and Supplies
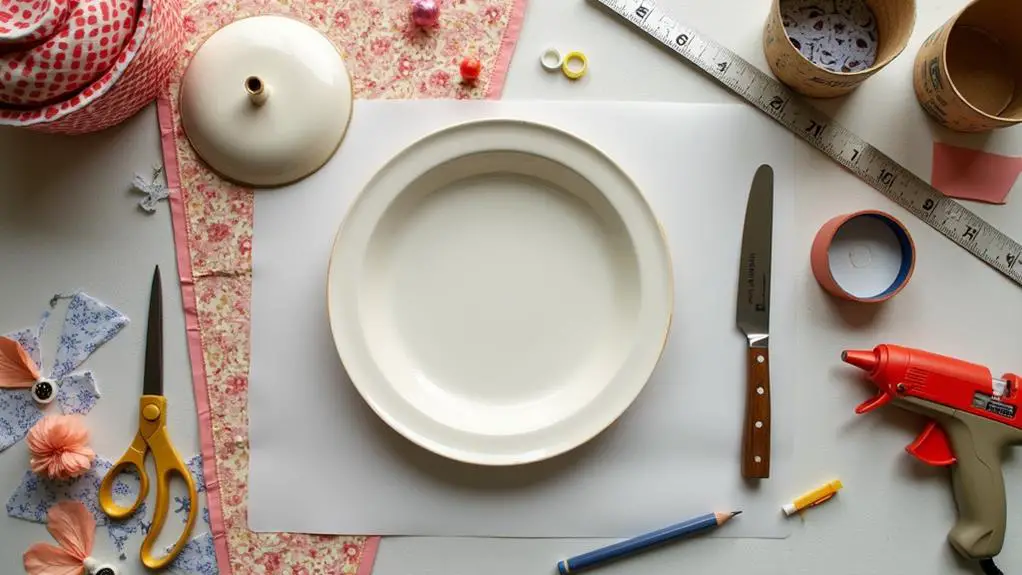
To create a DIY pet feeding mat, you’ll need a few basic materials and supplies. You can opt for eco-friendly options to reduce waste and promote sustainability. Consider using an old plastic placemat or a piece of vinyl flooring as the base of the mat. These materials are easy to clean and can be reused.
You’ll also need a pair of scissors, a craft knife or a utility knife, and a ruler or a measuring tape.
When choosing the materials, prioritize pet safety. Ascertain that the materials you use are non-toxic and won’t cause any harm to your pet if ingested. You can also use a non-slip backing or a textured surface to prevent the mat from slipping or your pet’s bowls from sliding. This will help prevent accidents and spills.
Gather all the necessary materials and supplies before starting the project to ascertain a smooth and efficient process. By being mindful of eco-friendly options and pet safety, you can create a functional and safe DIY pet feeding mat.
This post contains affiliate links. However all the information provided on this site are my own honest opinions. See more in Disclaimer.
1. Measure Your Pet’s Feeding Area
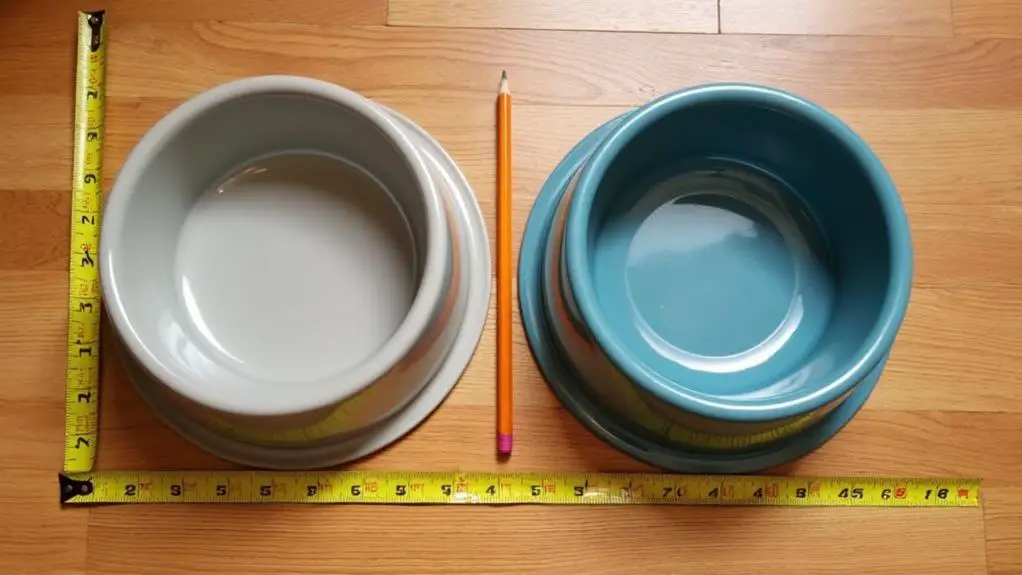
With your materials and supplies at the ready, measuring your pet’s feeding area is the next essential step in creating a DIY pet feeding mat that meets their needs.
You’ll want to take into account your pet’s feeding habits and preferences to determine the ideal size and shape of the mat. Observe your pet during mealtime to see how much space they need to comfortably eat and drink. Take note of any specific requirements, such as a separate area for water or a particular orientation of the food and water bowls.
Using a tape measure or ruler, record the length, width, and any irregularities of the area where your pet typically eats. Factor in any obstacles, such as a wall or corner, that may impact the mat’s design.
If your pet tends to make a mess while eating, you may want to add a few inches to the dimensions to guarantee the mat can contain any spills or crumbs.
2. Choose a Suitable Material
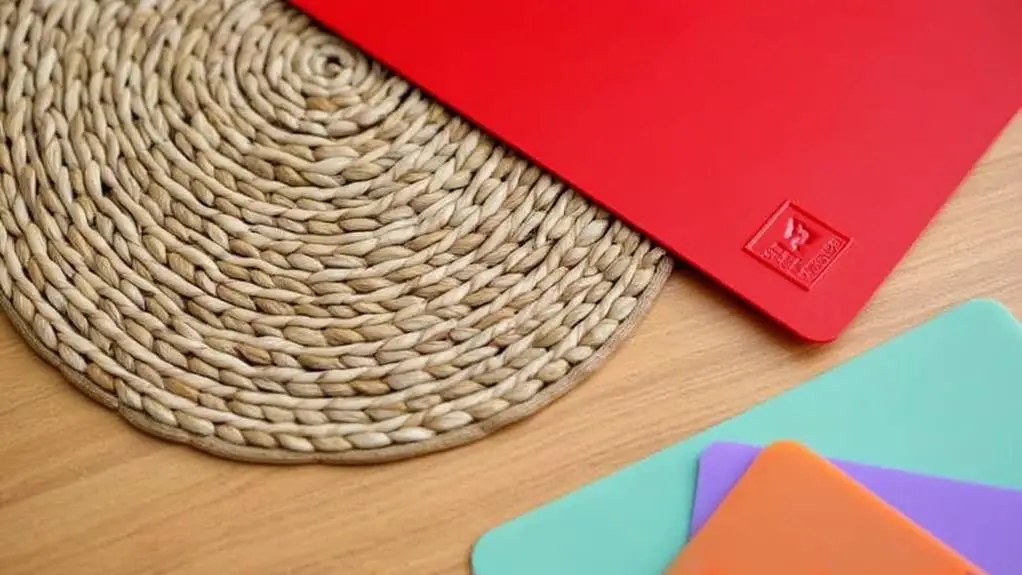
Frequently, the success of a DIY project hinges on the choice of materials. When it comes to your pet’s feeding mat, you want a material that’s easy to clean, durable, and gentle on your pet’s paws and nose. You’re looking for a material that balances functionality with eco-friendly options.
| Material | Durability Factors | Eco-Friendly Options |
|---|---|---|
| Silicone | Water-resistant, easy to clean, and long-lasting | Made from natural resources, biodegradable |
| Cotton | Absorbent, breathable, and machine washable | Organic cotton, non-toxic dyes, biodegradable |
| Rubber | Water-resistant, easy to clean, and durable | Made from recycled materials, biodegradable |
Considering these factors, you can choose a material that meets your needs and your pet’s needs. Silicone and rubber are great options for durability and ease of cleaning, while cotton provides a more natural and breathable surface. Whichever material you choose, make sure it’s safe for your pet and the environment. By considering eco-friendly options and durability factors, you can create a pet feeding mat that’s both functional and sustainable.
3. Cut Out the Mat Shape
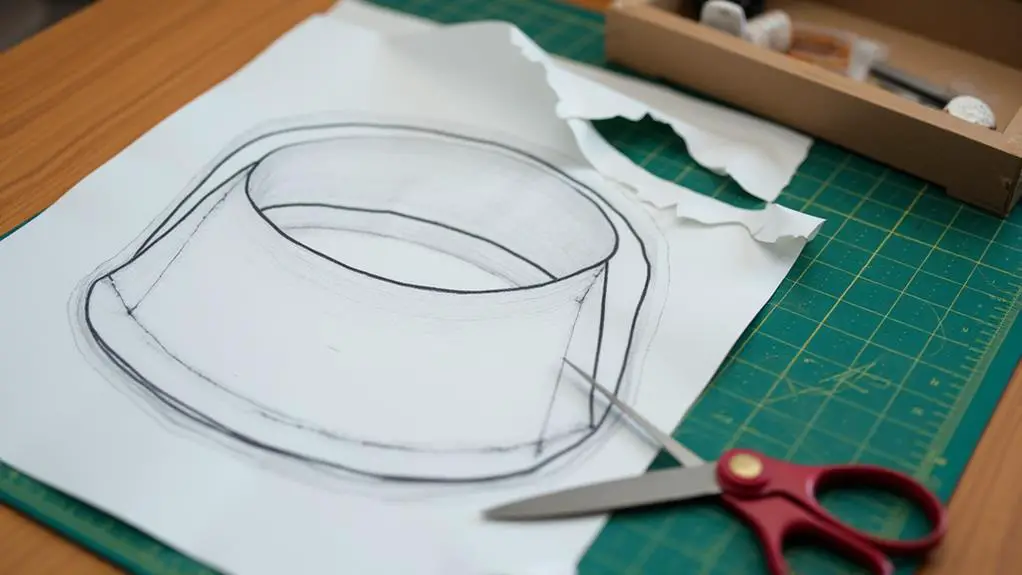
The mat shape you choose will play an essential role in your pet’s comfort and the overall aesthetic of your DIY project. You’ll want to take into account your pet’s size, feeding style, and personal preferences when selecting a shape.
Think about how your pet will be using the mat and what shape will make mealtime most comfortable and convenient for them.
When cutting out the mat shape, keep in mind design considerations such as rounded edges to prevent scratching or tripping, and a shape that allows for easy cleaning and maintenance. A simple rectangle or oval shape is a great starting point, but you can get creative and choose a more complex shape that suits your pet’s unique needs.
Use scissors, a craft knife, or a cutting mat to carefully cut out the shape, making sure to follow your pattern or template accurately. Take your time and be precise to guarantee a smooth, even edge that will make your DIY pet feeding mat look professional and finished.
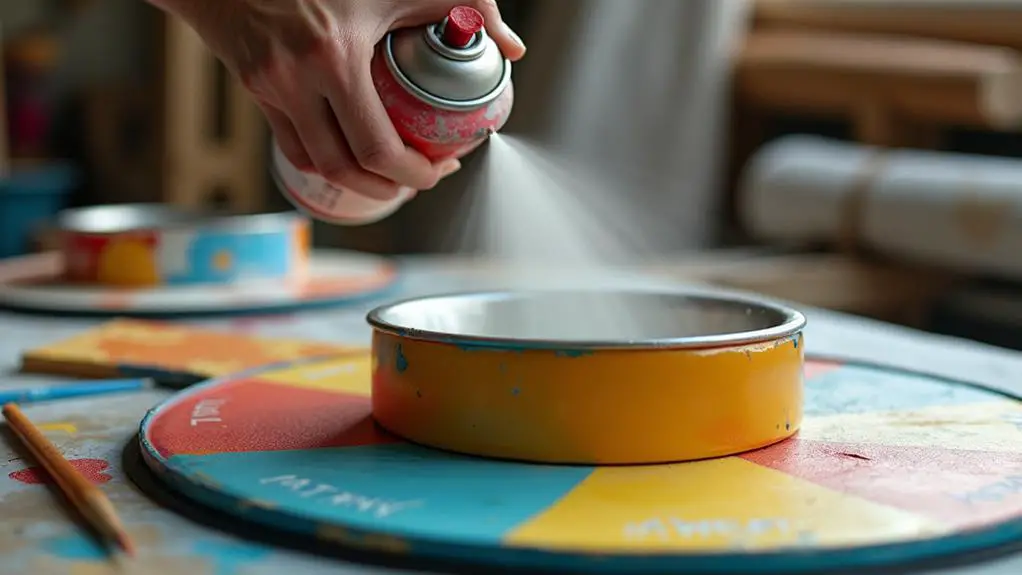
4. Add a Waterproof Layer
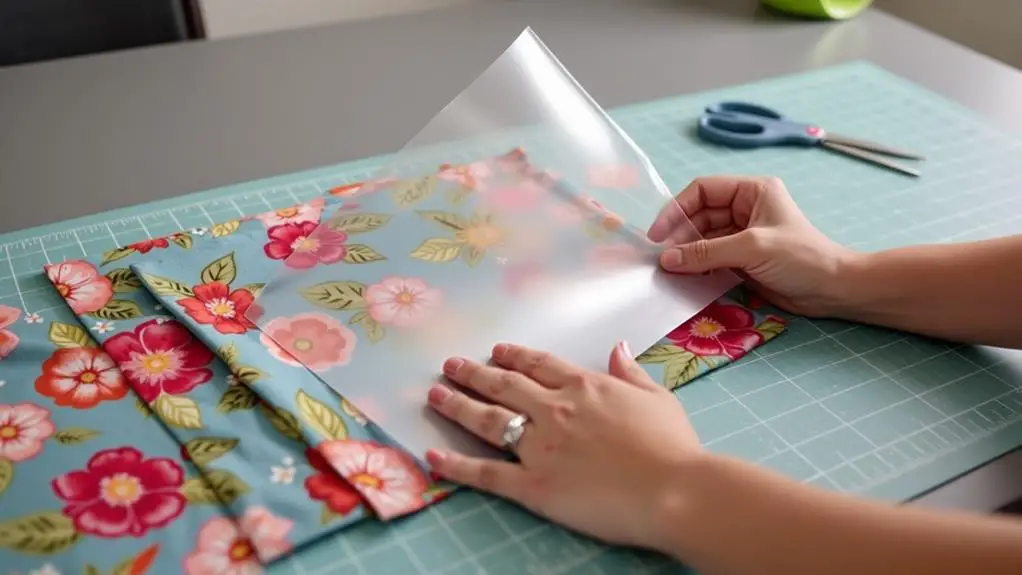
Your pet’s feeding mat needs a waterproof layer to protect it from spills and messes, so now it’s time to add one. To guarantee pet safety, choose a waterproof material that is non-toxic and safe for your pet to eat from.
| Waterproof Materials | Characteristics |
|---|---|
| Silicone spray | Easy to apply, non-toxic, flexible |
| Vinyl contact paper | Waterproof, durable, easy to clean |
| Waterproof fabric | Washable, breathable, perfect for messy eaters |
| Clear acrylic spray | Waterproof, non-toxic, easy to apply |
| PVC tablecloth material | Waterproof, easy to clean, durable |
Cut a piece of your chosen material to fit the shape and size of your feeding mat. Apply the waterproof layer to the mat using adhesive or another suitable attachment method. Make sure to smooth out any wrinkles or bubbles to guarantee a watertight seal. Once you’ve applied the waterproof layer, your pet’s feeding mat is one step closer to being complete. The next step will add the final touches to your pet’s new feeding mat.
5. Select a Decorative Pattern

Now that you’ve added a waterproof layer to your pet’s feeding mat, it’s time to think about making it visually appealing. You want your pet’s mealtime to be a pleasant experience, and a decorative pattern can add a touch of warmth and personality to the mat.
Consider your pet’s personality, your home decor, and your personal style when selecting a pattern. Think about color combinations that will complement your home and your pet’s fur color. You can choose bold and bright colors to add some fun to mealtime or more muted tones to blend in with your decor.
For pattern inspiration, look to your favorite fabrics, wallpapers, or even your pet’s favorite toys. You can also find inspiration online or in design books. Consider geometric patterns, stripes, polka dots, or even a fun design featuring your pet’s favorite treats.
Whatever pattern you choose, make sure it’s one that you and your pet will enjoy for a long time.
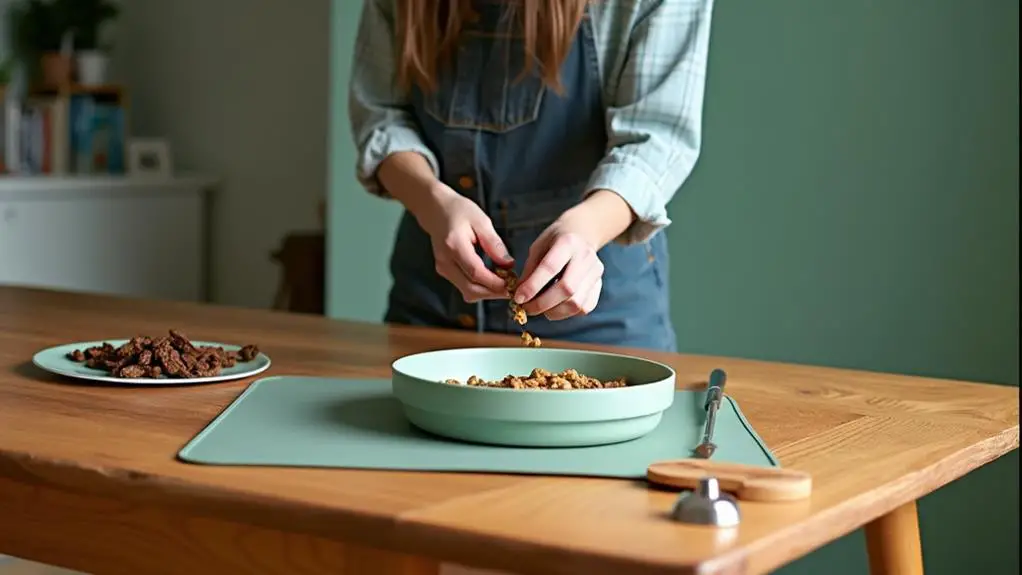
6. Apply the Pattern or Design
With pattern in hand, apply a thin layer of decoupage medium or varnish to the waterproof layer of the mat. This step prepares the surface for your design, ensuring a strong bond between the pattern and the mat. You can choose from various pattern inspirations, such as playful pet-themed designs, colorful geometric shapes, or elegant stripes.
Gently place the pattern on the prepared surface, smoothing out any air bubbles or wrinkles. Use a soft brush or a credit card to apply even pressure, working from the center of the mat outwards. Make sure to cover the entire surface, but avoid applying too much pressure, which can cause the pattern to tear or stretch.
To enhance your design, consider using various design techniques, such as layering multiple patterns, adding texture with fabric or paper scraps, or incorporating personalized elements like your pet’s name or initials.
Allow the decoupage medium to dry completely before handling the mat, following the manufacturer’s instructions for drying time.
7. Attach a Non-Slip Bottom
A crucial step in creating a functional DIY pet feeding mat is attaching a non-slip bottom. You want to guarantee your pet’s mealtime is stress-free and mess-free. A non-slip bottom prevents the mat from sliding or moving around while your pet eats, reducing the risk of spills and accidents.
To attach a non-slip bottom, you’ll need to choose from various non-slip materials and adhesive options. Here’s a comparison of some popular options:
| Non-Slip Material | Adhesive Option |
|---|---|
| Silicone mat | Hot glue gun |
| Rubber backing | Contact cement |
| Non-slip tape | Self-adhesive |
| PVC mat | Spray adhesive |
When selecting a non-slip material, consider your pet’s comfort and the durability of the material. For adhesive options, think about the strength of the bond and the ease of application. You want a secure attachment that won’t compromise the mat’s functionality or your pet’s safety. By choosing the right non-slip material and adhesive, you’ll create a stable and comfortable feeding area for your pet.
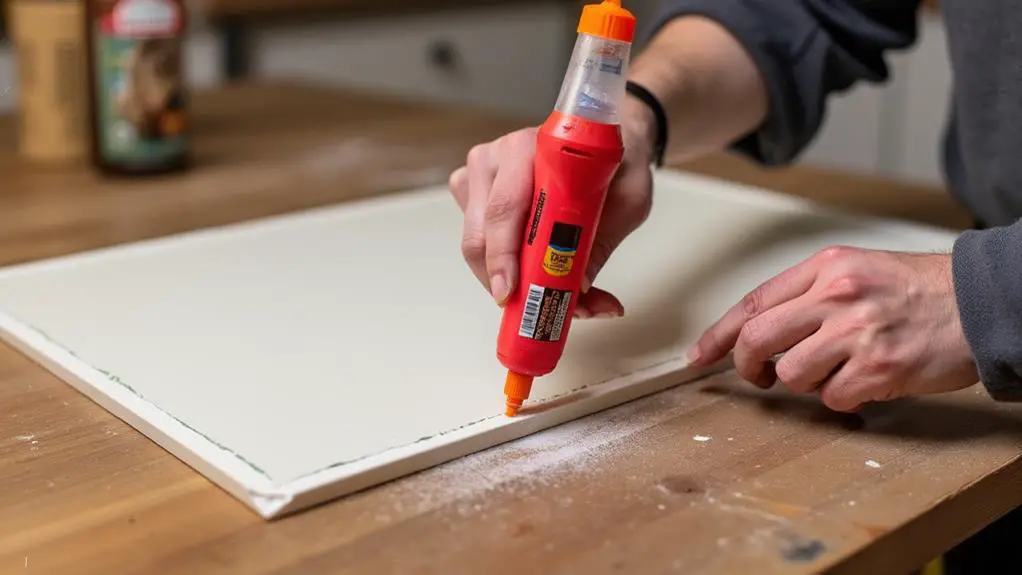
8. Finish With a Protective Coat
How will you guarantee your DIY pet feeding mat remains easy to clean and resistant to stains? Applying a protective coat is the answer. You’ve invested time and effort into creating a comfortable and functional feeding space for your pet, and a protective coating will help maintain its quality.
You have several protective coating options to choose from, including waterproofing sprays, silicone-based coatings, and fabric sealers. Each option has its benefits and drawbacks, so consider your pet’s habits and the mat’s intended use when making a decision.
If your pet is prone to accidents or spills, a waterproofing spray might be the best choice. On the other hand, if you’re concerned about the mat’s durability, a silicone-based coating could be a better option.
When applying the protective coat, be mindful of drying time considerations. Some coatings may require several hours or even overnight to dry completely. Make sure to follow the manufacturer’s instructions to avoid any damage or discoloration.
9. Assemble the Feeding Mat
While the individual components of your DIY pet feeding mat are complete, it’s now time to bring them together to create a functional and comfortable feeding space for your pet.
Begin by placing the waterproof layer on the bottom, followed by the decorative layer, and finally the non-slip top layer. Make sure each layer is properly aligned and securely attached to the one below it.
Trending in Cats:
As you assemble the mat, consider your pet’s feeding habits and how they’ll interact with the mat. For example, if your pet is a messy eater, you may want to place a removable and washable layer on top to make mat maintenance easier.
Once the layers are attached, inspect the mat for any loose edges or seams that may need to be reinforced.
With the mat assembled, take a moment to inspect it for quality and durability. Check that all layers are securely attached and the mat is free from any defects or weaknesses.
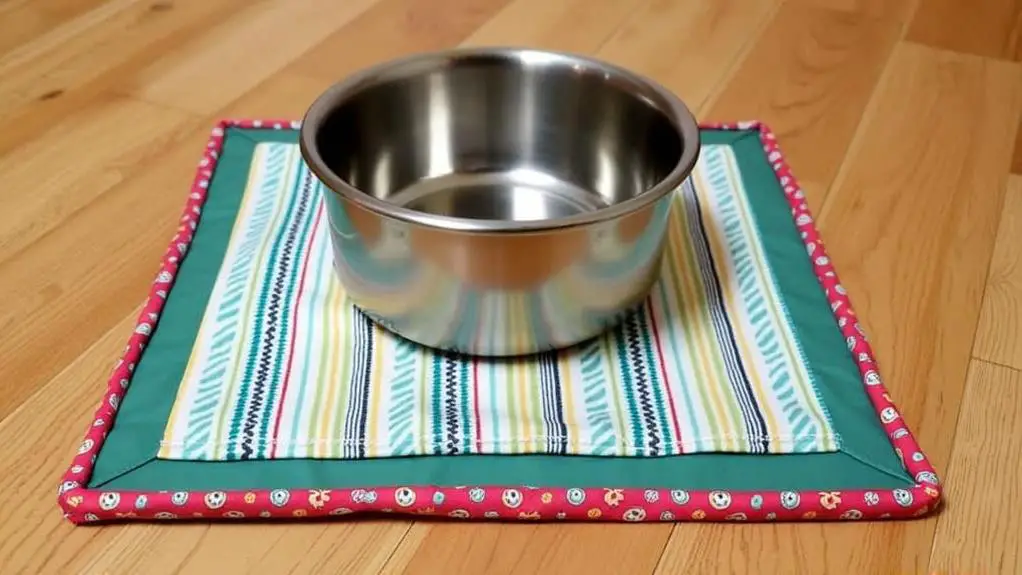
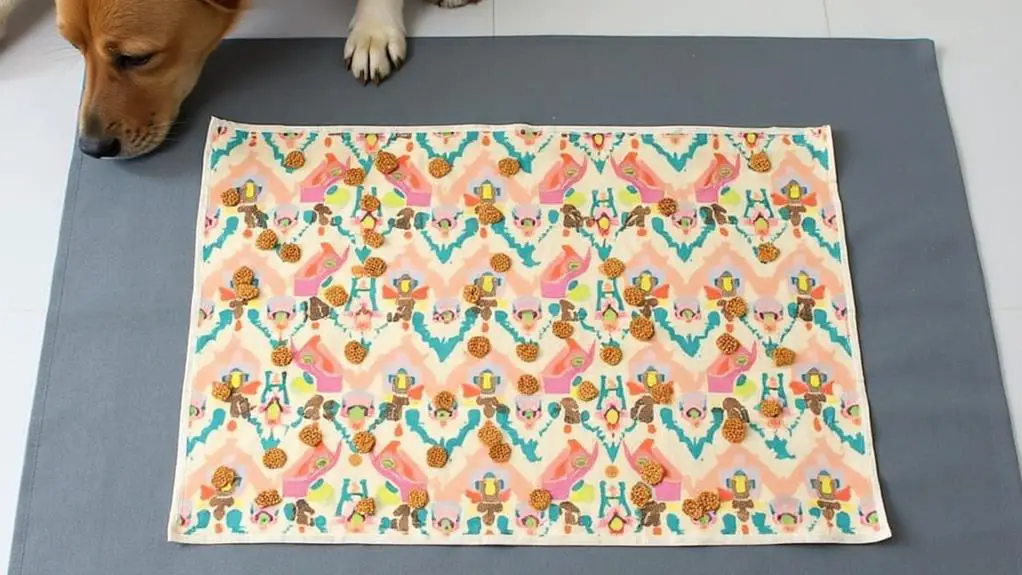
10. Place and Enjoy Your Mat
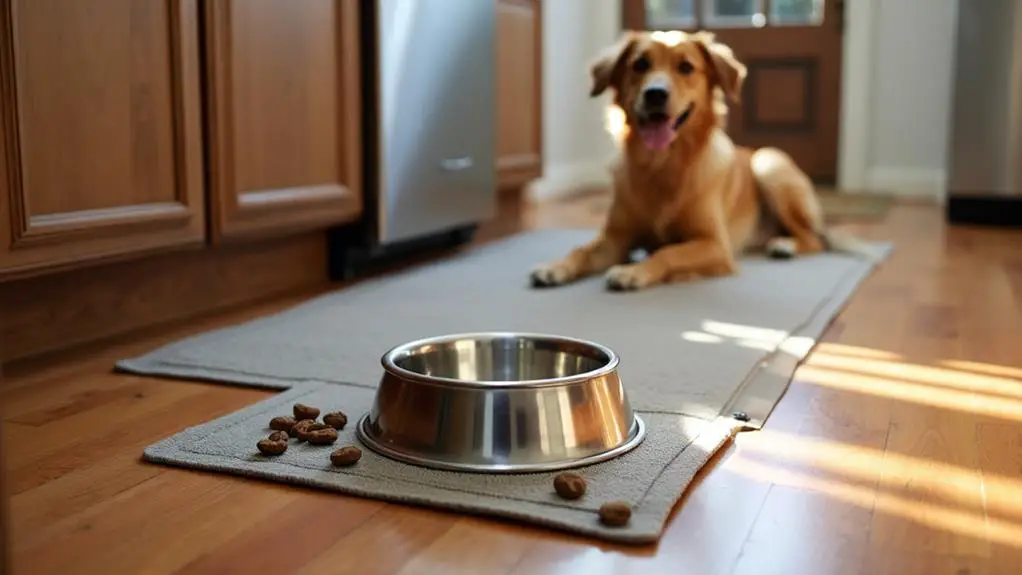
Now that your DIY pet feeding mat is assembled, it’s time to find the perfect spot for it in your home. Consider your pet’s favorite feeding area or a spot that’s easy to clean. Place the mat on a level surface, ensuring it’s stable and secure.
To keep your mat in top condition, follow these maintenance tips:
| Tips | Frequency |
|---|---|
| Wipe down the mat with a damp cloth | Daily |
| Sanitize the mat with a pet-safe cleaner | Weekly |
| Inspect the mat for signs of wear and tear | Monthly |
Frequent Questions and Answers
You can use a DIY pet feeding mat for multiple pets! Opt for durable, easy-to-clean materials and a large enough size to accommodate all your pets, making it a practical multi-pet solution for mealtimes.
You’ll want to clean the pet feeding mat frequently to prevent bacterial growth, ideally after every meal. Material selection plays a role, too – mats made from easy-to-clean materials like silicone or canvas will make the process a breeze.
Did you know 1 in 5 pets suffer from allergies? You’ll want to choose allergy-friendly materials for their comfort. Opt for pet-safe fabrics, like cotton or hemp, when creating a DIY pet feeding mat.
You can create a DIY pet feeding mat for outdoor use by choosing durable materials that withstand the elements and prioritizing outdoor safety to protect your pet from potential hazards, like extreme temperatures and moisture.
You can use a homemade pet feeding mat for both cats and dogs, considering the pet mat materials and feeding mat designs that cater to their unique needs and preferences, ensuring a safe and enjoyable mealtime experience.